读取图像
matplotlib读取图像的格式 [H,W,C], 其中C为 [R,G,B]
读取结果数据类型 np.ndarray

cv2:[H,W,C],C:B-G-R
matplotlib读取图像示例
from matplotlib import pyplot as plt
img = plt.imread("K:/tmp/a.png")
print(type(img),img.shape)  <class 'numpy.ndarray'> (458, 604, 4)

img[0,1]
array([0.7607843 , 0.79607844, 0.8156863 , 1.        ], dtype=float32)
|
|
cv2读取图像示例
import cv2
image = cv2.imread("K:/tmp/a.png")#image :是返回提取到的图片的值
print(type(image),image.shape)  # <class 'numpy.ndarray'> (95, 381, 3)

tmp=image[0,1]
tmp
array([208, 203, 194], dtype=uint8)

tmp = tmp/255
tmp.round(7)
array([0.8156863, 0.7960784, 0.7607843])
差异对比 数据类型都是np.ndarray, 格式都是[H,W,C], 这个格式的意思是[H,W]个3维向量,每个向量3色素 与图像最小单位像素一致,一个3维向量对应一个像素,[H,W]个像素 数值类型 matplotlib的array中float32,cv2的array中unit,并且两者的关系就是 整数值/255 在读取Png图像时,cv2直接舍弃透明度这个维度,matplotlib则将其保留 特征维度C的顺序 matplotlib是RGB,cv2则是其反序BGR
|
|
Image.open import numpy as np from PIL import Image img = Image.open(fp="/opt/tpf/aiwks/datasets/images/001/dianzi1.jpg") print(type(img)) # class 'PIL.JpegImagePlugin.JpegImageFile' print(img.size) # (561, 1280) (宽, 高) img = np.array(img) print(img.shape) # (1280, 561, 3) (高,宽,通道) Image经numpy转换后, 最后一维是3,即类似[1,255,255]这样的格式,是一个维数为3的向量,代表的是RGB三色 |
|
|
|
|
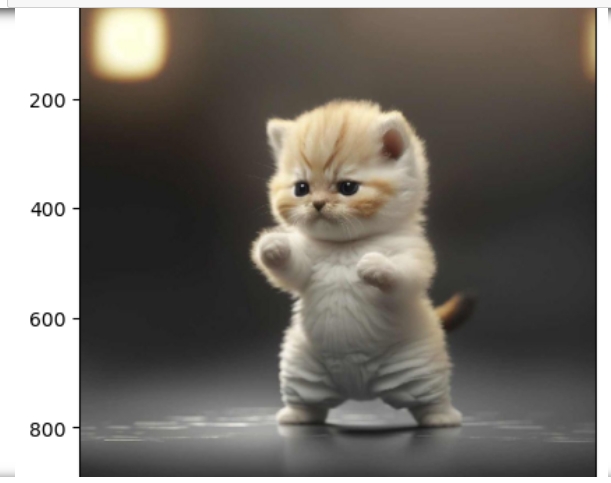
plt.imshow
from matplotlib import pyplot as plt
img = plt.imread("lingmao.jpg")
print(img.shape) # (940, 940, 3)

plt.imshow(img)
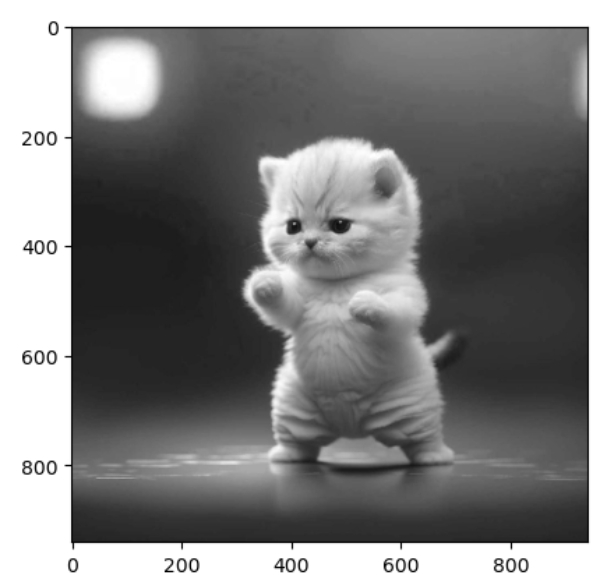
cmap="gray",前提是输入的图像只有一层
img_r = img[:,:,0] # 取出其中一个特征的图
img_r.shape
(940, 940)
plt.imshow(img_r,cmap="gray")
常见处理方法
from matplotlib import pyplot as plt
from PIL import Image
from torchvision import transforms
import cv2

图像处理上面四个够用,其他的,比如pandas,也可以进行图像绘制及处理
import os
from matplotlib import pyplot as plt

from aisty import input
img_path1 = os.path.join(input.img_path1, "dianzi1.jpg")

# type(img):numpy.ndarray
img = plt.imread(fname=img_path1)
# plt.imshow(X=img)
# img.shape  # (1280, 561, 3)
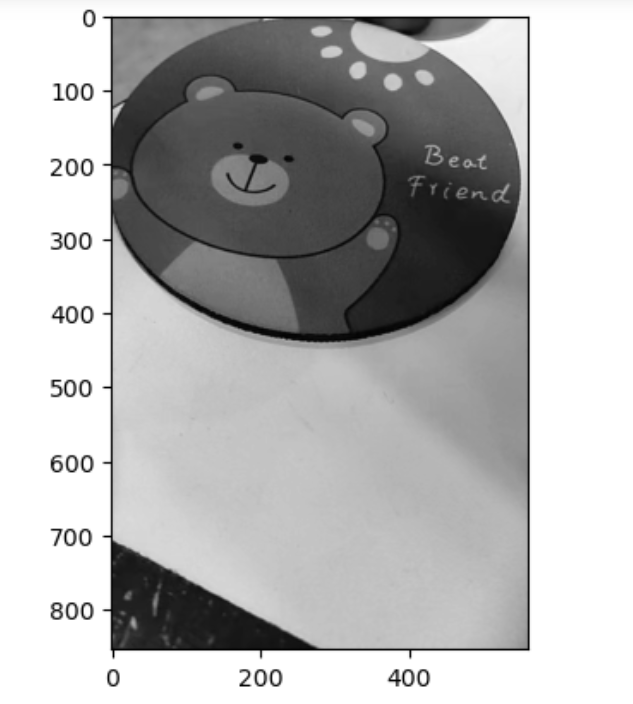
取其中一色的图像
# 取其中一色的图像
img1 = img[:, :, 1]  # shpae: (1280, 561)
H, W = img1.shape
截取三分之二 img2 = img1[H//3:, :] # 截取三分之二 灰度处理
plt.imshow(X=img2, cmap="gray") #灰度处理
|
|
|
|
|
|
|
|
滤波处理
import cv2
from matplotlib import pyplot as plt
from PIL import Image
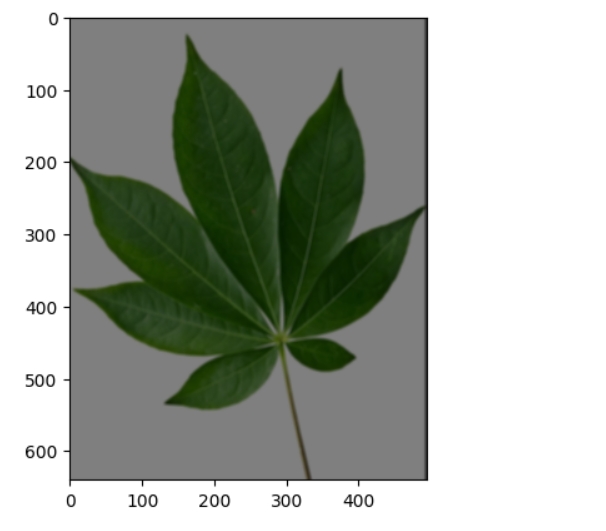
img = plt.imread(fname="/opt/wks/web73/static/images/shuye_20250702094036.jpg")
plt.imshow(X=img)

差异轮廓
import numpy as np
kernel = np.array([[-1, 0, 1], [-1, 0, 1], [-1, 0, 1]])

img1 = cv2.filter2D(src=img, ddepth=-1, kernel=kernel)
plt.imshow(X=img1)
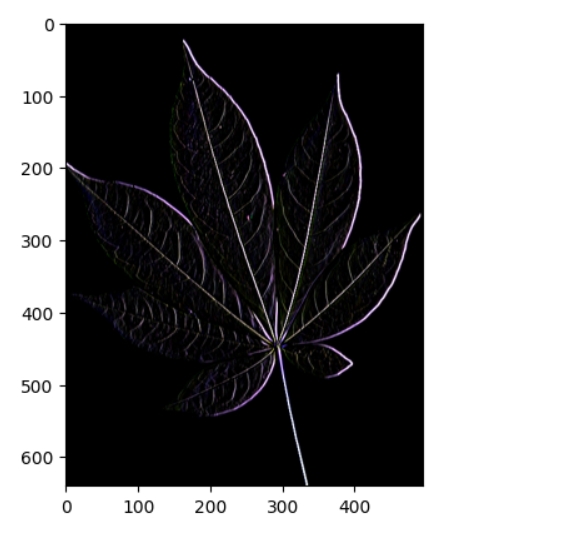
img2 = cv2.filter2D(src=img, ddepth=-1, kernel=-kernel)
plt.imshow(X=img2)

模糊轮廓
kernel = np.ones(shape=(5, 5)) / 50
img3 = cv2.filter2D(src=img, ddepth=-1, kernel=kernel)
plt.imshow(X=img3)
|
|
|
|
|
|
|
|
参考